
How to Repot Indoor Plants Without Killing Them: 7 Easy Steps
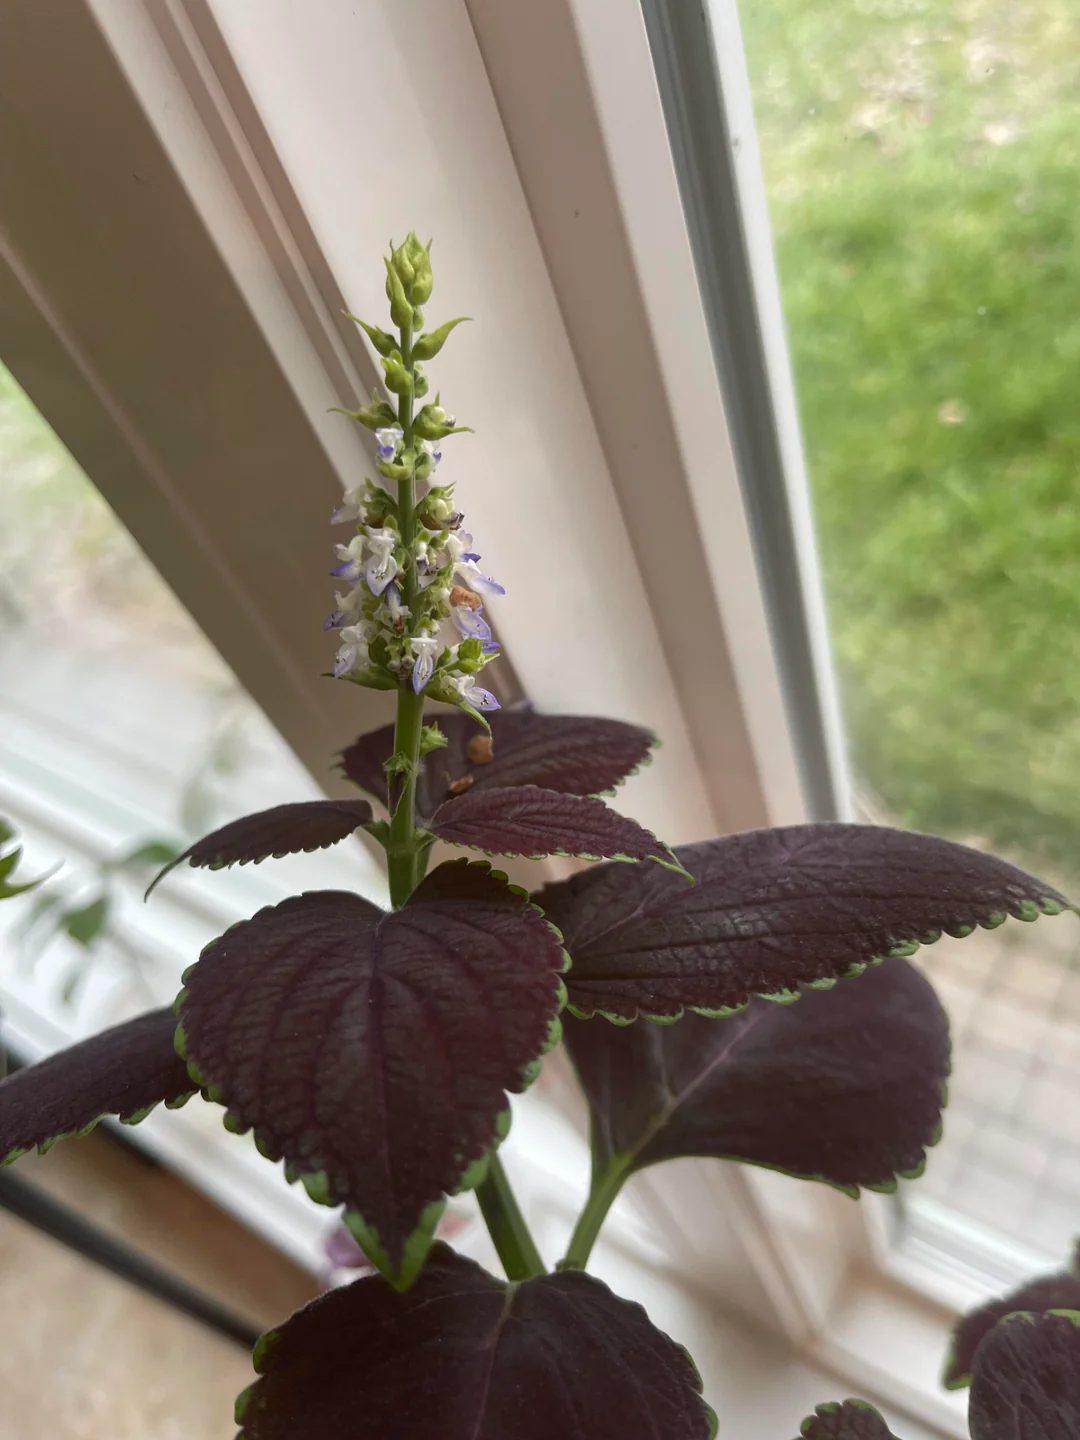
Learning how to repot indoor plants properly can help solve slow growth, crowded roots, poor drainage, and exhausted soil. The key is knowing when your plant actually needs repotting, choosing a suitable container, handling the roots gently, and giving the plant time to adjust afterward. Repotting doesn’t have to be stressful for you or your plant when you follow the right process.
How to Repot Indoor Plants Without Killing Them
Repotting is one of those indoor gardening tasks that sounds simple until you’re standing over your plant wondering how much soil to remove, whether the roots should be loosened, and whether the new pot is actually too big.
It’s also easy to assume that a larger pot automatically means faster growth. It doesn’t.
Choosing a pot that’s dramatically larger than the existing container can leave excess soil around the roots that stays wet for too long. On the other hand, keeping a severely root-bound plant in the same small container can restrict growth and make watering difficult.
That’s why knowing how to repot indoor plants is less about simply moving a plant into a bigger pot and more about understanding what the roots and soil actually need. Repotting can refresh the growing environment, improve drainage, provide additional room for developing roots, and replace old or compacted soil.
But timing and technique matter.
If you repot a healthy plant unnecessarily, disturb the roots aggressively, or immediately expose it to extreme conditions afterward, you can create more stress than you solve.
The goal is simple: give the roots a better environment while disturbing them as little as possible.
When Should You Repot an Indoor Plant?
Not every plant needs a new pot simply because it has been in the same container for a long time.
Look for signs that the current container or soil is becoming a problem.
Common signs include:
- Roots growing from drainage holes
- Roots tightly circling the root ball
- Soil drying unusually quickly
- Water running straight through the pot
- Soil becoming heavily compacted
- Very slow growth during the growing season
- The plant repeatedly becoming unstable in its container
- The potting mix breaking down significantly
Sometimes the roots tell you more than the leaves do.
A plant may appear healthy above the soil while becoming severely crowded underneath.
On the other hand, yellow leaves or slow growth don’t automatically mean the plant needs repotting. Those symptoms can also result from watering problems, insufficient light, pests, temperature stress, or nutrient issues.
Always identify the likely problem before disturbing the roots.
7 Steps to Repot Indoor Plants Safely
1. Choose the Right New Pot
The first mistake many people make is choosing a container that’s far too large.
You might think a huge pot gives the roots plenty of room to grow, but excess soil can retain moisture around a relatively small root system.
That can increase the risk of root problems.
Instead, choose a container that is generally only about 1–2 inches wider than the current pot for many common houseplants.
The exact size depends on the plant and its root system.
Most importantly, choose a pot with drainage holes.
Decorative containers without drainage can be used as outer pots, but the plant itself should remain in a container that allows excess water to escape.
2. Prepare Fresh Potting Mix
Don’t automatically reuse old, exhausted soil when repotting.
Fresh potting mix provides a cleaner growing environment and can restore structure that has been lost over time.
The right mix depends on your plant.
A tropical foliage plant may prefer an airy, moisture-retentive mix, while a succulent or cactus generally needs much faster drainage.
Avoid choosing soil simply because the packaging says “indoor plants.”
Consider what your particular plant care needs.
A good potting mix should provide enough structure for the roots while still allowing air and excess water to move through the container.
3. Gently Remove the Plant
Before removing the plant, don’t water heavily immediately beforehand.
If the soil is extremely wet, the root ball can become heavy and difficult to handle.
Tilt the container slightly and gently loosen the plant.
Never yank the plant upward by its stem.
Instead, support the base of the plant and root ball while carefully easing it from the container.
If the plant is stuck, run a clean tool around the inside edge of the pot or gently squeeze a flexible plastic container.
Take your time.
Damaging the roots during removal can create unnecessary transplant stress.
4. Inspect the Roots
Once the plant is out, take a moment to examine the root system.
Healthy roots should generally feel firm rather than mushy.
Look for:
- Tightly circling roots
- Dark or mushy sections
- Broken roots
- Signs of severe root crowding
- Old soil packed tightly around the roots
If the roots are healthy, you don’t need to aggressively tear the entire root ball apart.
Gently loosen only areas that are severely compacted or tightly circling.
If you discover significant root rot, remove damaged roots with clean scissors before repotting.
Don’t cut healthy roots simply because you think the plant needs a dramatic “root trim.”
Less disturbance is usually better.
5. Place the Plant at the Correct Depth
Add a layer of fresh potting mix to the new container.
Place the plant in the center.
The top of the existing root ball should generally sit at approximately the same level it was previously growing at.
Avoid burying the stem or trunk deeper than before unless the specific plant is known to tolerate or require it.
Once the plant is positioned correctly, fill around the root ball with fresh soil.
Don’t pack the mix down aggressively.
You want the roots to have access to air as well as moisture.
6. Water Carefully After Repotting
After repotting, water according to the plant’s needs and the condition of the new soil.
For many plants, a thorough watering helps settle the fresh potting mix around the roots.
Allow excess water to drain completely.
Don’t leave the pot sitting in a tray of standing water.
However, don’t assume every freshly repotted plant needs to be soaked repeatedly.
The correct approach depends on the plant, soil mixture, and moisture level.
After the initial watering, allow the soil to reach the appropriate moisture level for that species before watering again.
7. Give Your Plant Time to Adjust
This is the step people often forget.
Repotting is a change in environment.
Even when you do everything correctly, your plant may experience some temporary stress.
You might notice:
- Slight drooping
- Slower growth
- A few older leaves yellowing
- Temporary leaf movement or curling
Don’t immediately respond by watering, fertilizing, moving the plant, and repotting it again.
Keep conditions stable.
Provide appropriate light, avoid extreme temperatures, and monitor the soil.
Give the roots time to settle into their new environment.
What Size Pot Should You Use?
Pot size is one of the most important decisions when you repot indoor plants.
Going from a tiny pot to a container several sizes larger may seem helpful, but it can create an oversized zone of wet soil.
A better approach is gradual.
| Current Pot | General New Pot Approach |
|---|---|
| Small nursery pot | Slightly larger container |
| Moderately root-bound plant | About 1–2 inches wider |
| Severely crowded roots | One appropriate size up |
| Large established plant | Choose based on root mass |
| Succulent | Avoid oversized containers |
These are general guidelines, not strict rules.
The plant’s root system matters more than simply choosing the biggest available container.
Should You Remove All the Old Soil?
Usually, no.
If the old soil is healthy and the roots are in good condition, you don’t need to completely strip the root ball.
Removing every bit of soil can disturb delicate roots unnecessarily.
Instead, gently loosen the outer layer if the roots are tightly packed.
Replace the soil that has broken down or become unsuitable.
If you’re dealing with root rot, severe pest problems, or heavily degraded soil, more extensive soil replacement may be appropriate.
The goal is to solve the problem without creating additional root damage.
What Happens If You Use a Pot That’s Too Big?
An oversized pot can hold more moisture than the plant’s root system can use.
That means the soil may stay wet for longer.
This is especially problematic for plants that prefer to dry somewhat between waterings.
A huge container can also make it harder to determine how much moisture is actually available around the roots.
If you’re unsure, resist the temptation to “give the roots room.”
A slightly larger pot is usually a safer upgrade than a dramatically larger one.
Should You Fertilize Immediately After Repotting?
Usually, there’s no need to rush.
Fresh potting mix may already contain nutrients, depending on the product.
Adding a strong fertilizer immediately can be unnecessary and may add stress to recently disturbed roots.
Instead, allow the plant to settle.
Once it resumes active growth, follow a suitable feeding routine based on the plant’s species and the potting mix you’re using.
More fertilizer does not equal faster recovery.
Common Repotting Mistakes to Avoid
Repotting problems often come from trying to do too much.
Using a Huge Pot
Bigger isn’t always better. Excess soil can stay wet around the roots.
Packing Soil Too Tightly
Compacted soil can reduce air movement and interfere with drainage.
Burying the Plant Too Deeply
Keeping the plant at approximately its original depth helps avoid unnecessary stem or crown problems.
Aggressively Cutting Healthy Roots
Healthy roots don’t need to be removed simply because you’re repotting.
Watering Constantly After Repotting
Temporary drooping doesn’t necessarily mean the plant needs more water.
Fertilizing Heavily
A stressed plant doesn’t need a sudden nutrient overload.
Moving the Plant Repeatedly
Stable conditions are usually better while the plant adjusts.
Best Time to Repot Indoor Plants
For many houseplants, active growth is a convenient time to repot.
Spring and early summer are often suitable because plants are naturally entering or experiencing stronger growth.
However, you don’t always have the luxury of waiting.
If a plant has severe root rot, drainage problems, broken containers, or another urgent issue, repotting may be necessary regardless of season.
The plant’s condition matters more than following a calendar perfectly.
How to Know Your Plant Is Recovering
Don’t judge recovery only by the appearance of older leaves.
Some leaves that were already damaged before repotting may continue to yellow or drop.
Instead, watch for signs of stability.
Healthy recovery may look like:
- New leaf growth
- Firm stems
- Normal leaf color
- Appropriate soil drying
- Improved stability
- No continuing root problems
New growth is particularly encouraging.
If your plant produces healthy new leaves after repotting, that’s a strong indication that the roots are adapting well.
Quick Repotting Checklist
| Step | What to Do |
|---|---|
| Check the plant | Confirm it actually needs repotting |
| Choose a pot | Go only slightly larger |
| Check drainage | Use a container with drainage holes |
| Prepare soil | Choose a mix suited to the plant |
| Remove plant | Handle the root ball gently |
| Inspect roots | Remove damaged roots if necessary |
| Repot | Keep the plant at its original depth |
| Water | Water appropriately and drain excess |
| Recovery | Keep conditions stable |
Frequently Asked Questions
How often should I repot indoor plants?
There is no universal schedule. Repot when the plant becomes root-bound, the soil breaks down, drainage becomes poor, or the container is clearly restricting healthy growth.
Should I repot a plant as soon as I buy it?
Not always. If the plant is healthy and the nursery container is suitable, you can allow it to adjust to your home before deciding whether repotting is necessary.
What size pot should I use when repotting?
For many houseplants, choosing a pot about 1–2 inches wider than the current container is a good starting point. Avoid dramatically oversized pots.
Should I loosen the roots when repotting?
If roots are tightly circling or compacted, gently loosening the outer roots can help. Don’t aggressively tear apart a healthy root ball.
Should I water immediately after repotting?
Many plants benefit from watering after repotting, but the amount and timing depend on the plant and moisture level of the new soil. Always allow excess water to drain.
Why is my plant drooping after repotting?
Temporary drooping can happen because repotting disturbs the roots. Give the plant stable conditions and avoid immediately changing several aspects of its care.
Can repotting kill an indoor plant?
Yes, improper repotting can cause serious stress, particularly through root damage, poor drainage, excessive watering, or an oversized container. Gentle handling and appropriate pot selection reduce the risk.
Can I use garden soil for indoor plants?
Garden soil is generally not ideal for indoor containers because it can be too dense and may drain poorly. A suitable indoor potting mix is usually a better choice.
Final Thoughts
Learning how to repot indoor plants doesn’t mean giving every plant a bigger pot whenever growth slows down.
Good repotting is about timing, observation, and restraint.
Before reaching for a new container, check the roots, soil, drainage, and overall health of the plant. If the roots are crowded or the growing medium has broken down, repotting can give your plant the fresh start it needs.
Choose a container only slightly larger than the current one, and always prioritize drainage. Use a potting mix that matches the plant rather than relying on one soil type for your entire collection.
When removing the plant, handle the roots gently. Healthy roots don’t need to be aggressively cut or completely stripped of soil. Remove damaged roots only when necessary and keep the plant at approximately the same depth it was growing before.
Afterward, resist the urge to overcare for it.
Don’t flood the new pot every day because the leaves look slightly droopy. Don’t immediately add extra fertilizer. Don’t move the plant between different windows searching for the perfect spot.
Give it stability.
Some plants recover quickly, while others need more time to settle. What matters most is the direction of the new growth and the condition of the root environment.
When done correctly, repotting can improve drainage, refresh old soil, give crowded roots more room, and create a healthier foundation for future growth.
Repot with patience, give the roots room to breathe, and let your plant settle into its new home before expecting new growth.

Sophie Bennett
Sophie Bennett is a Plant lover, chronic propagator, and firm believer that every room needs at least one Monstera. She writes about plant care, styling, and the joy of bringing the outdoors in keeping it honest, simple, and always beginner friendly.
Sophie Bennett
Sophie Bennett is a Plant lover, chronic propagator, and firm believer that every room needs at least one Monstera. She writes about plant care, styling, and the joy of bringing the outdoors in keeping it honest, simple, and always beginner friendly.
Get more inspiration
Subscribe for weekly plant care tips, grow guides, and fresh inspiration delivered straight to your inbox.